How to Print a Calligraphy Digital File: Paper, Size, Color, and Framing
A calligraphy digital file gives you control over where and how the artwork is printed. That flexibility is useful, but the final result still depends on a few practical choices: paper, print scale, color settings, and framing. This guide explains a simple workflow for printing a calligraphy file while preserving the character of the original brushwork.
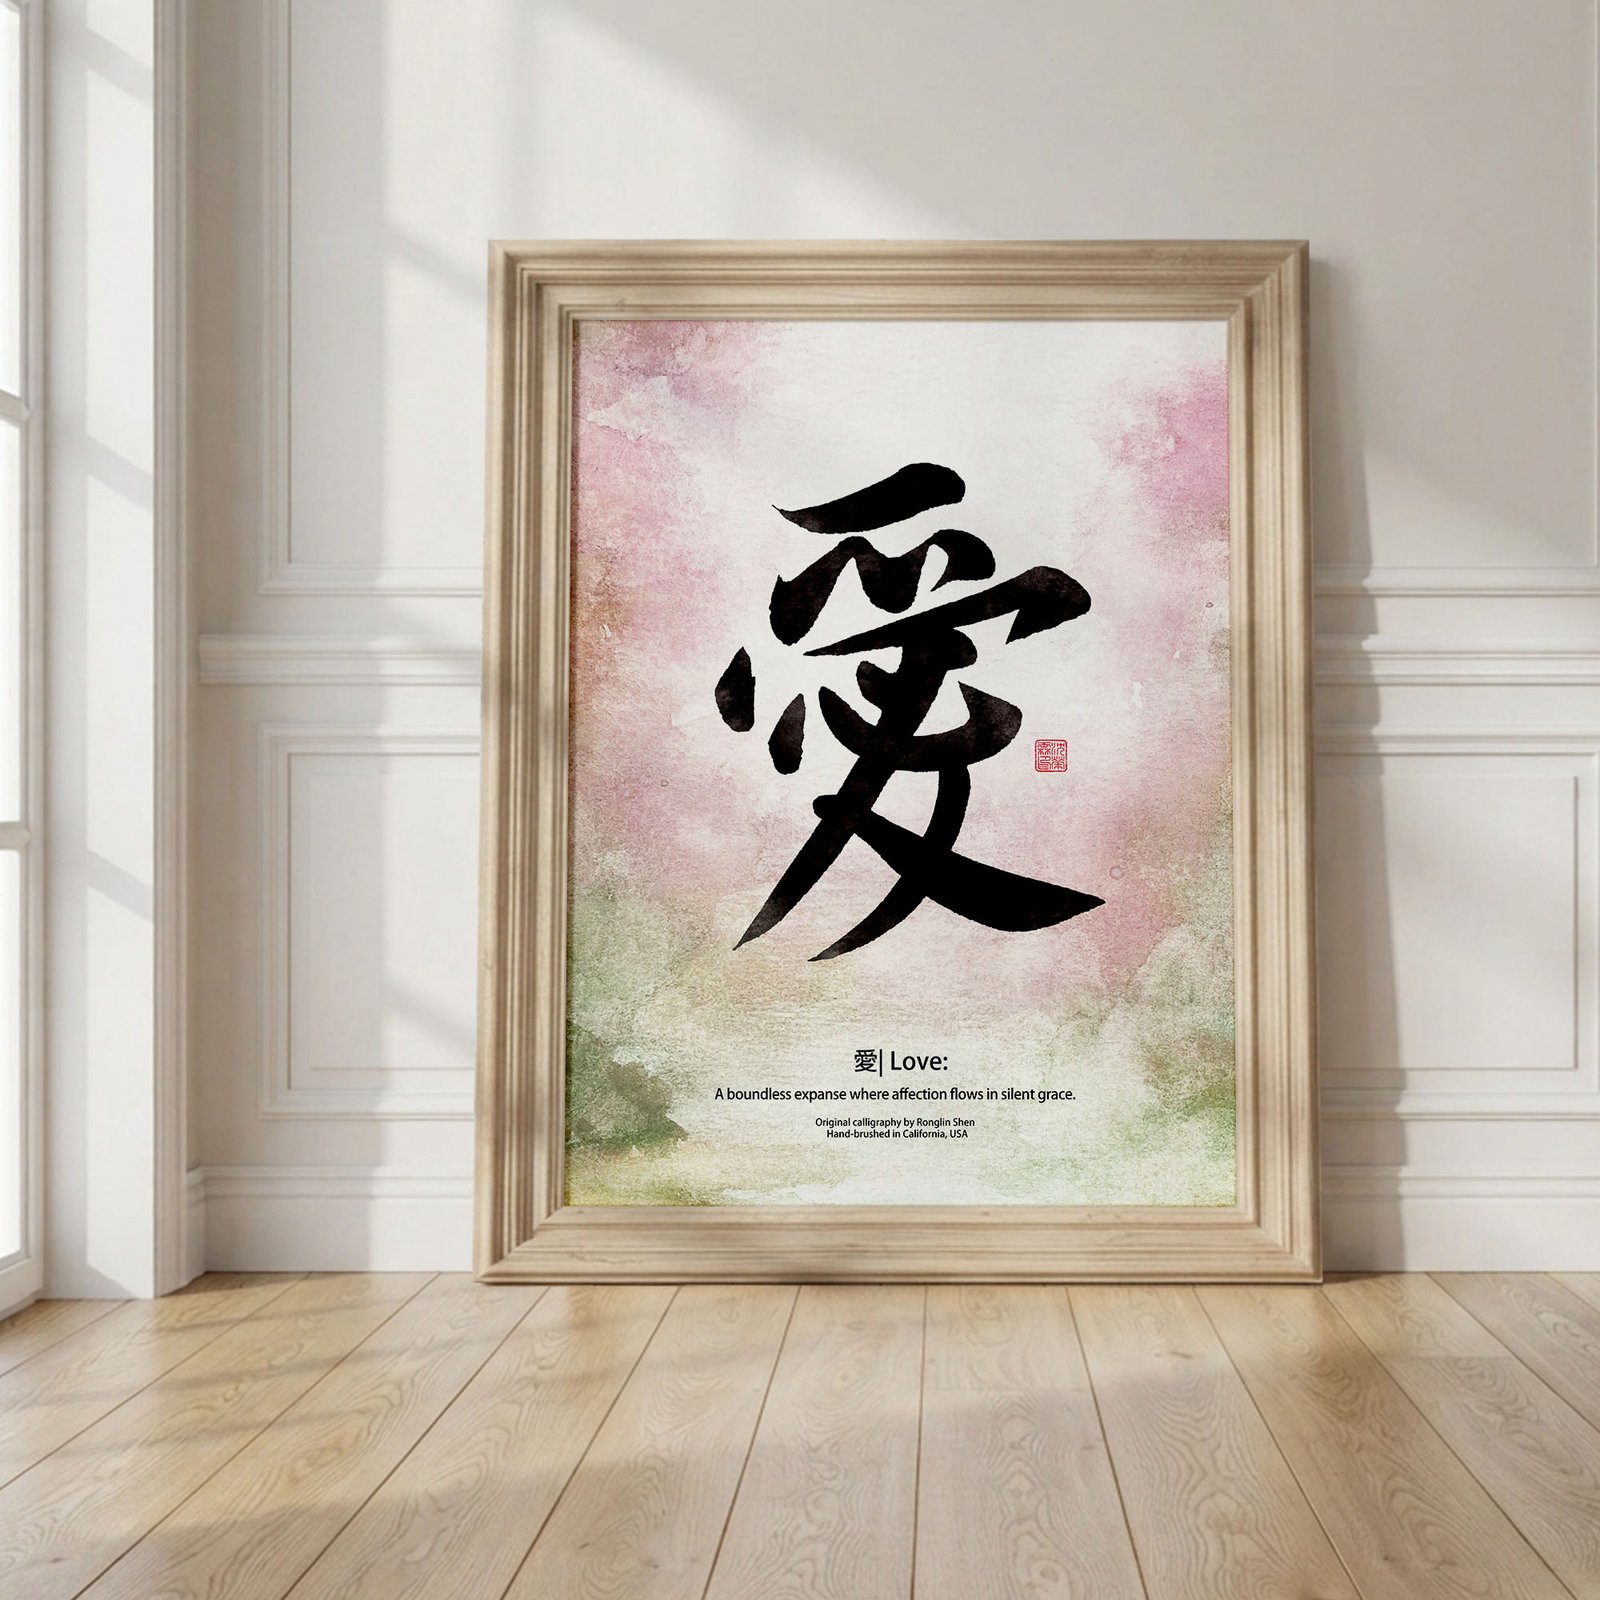
First, understand what the digital option includes
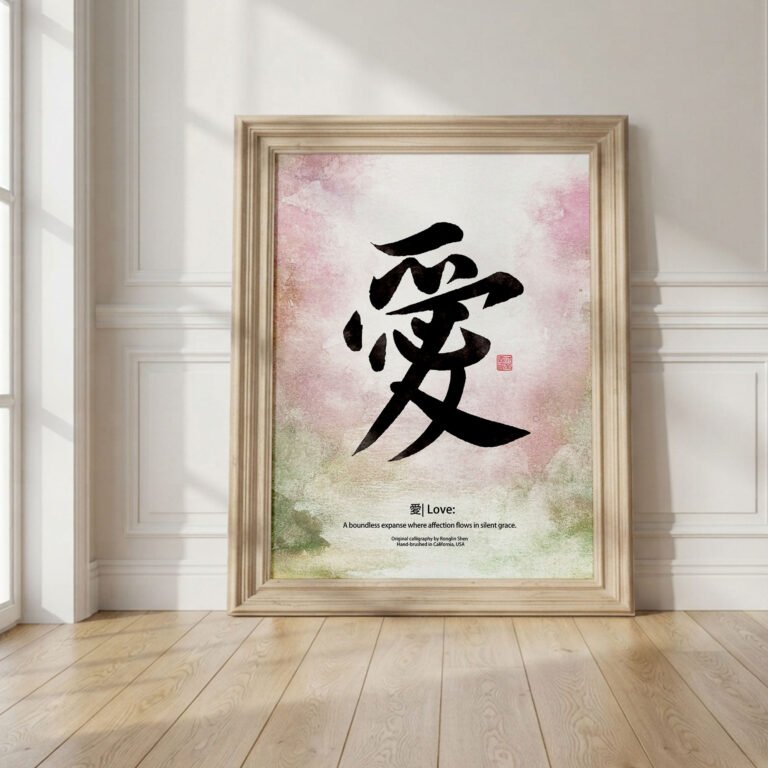
The fixed Digital File option for Ai 愛 “Love” calligraphy is one high-resolution PDF at a default size of 8.5 × 11 inches and 300 DPI. It is delivered by download link or email within 1–5 business days. It is a file for personal use; no paper print, frame, or other physical item is shipped.
This distinction matters when planning your display. A digital purchase lets you arrange printing and framing yourself. A framed original or hanging scroll is a separate physical option with its own materials, dimensions, processing time, and shipping.
1. Print at the intended size
For the standard 8.5 × 11-inch PDF, choose Actual Size or 100% in the print dialog. Turn off settings such as “Fit to Page” if they change the proportions or add unexpected scaling. A home printer may leave a narrow unprinted margin; that is normal unless your printer supports borderless printing.
If you want a substantially different finished size, do not simply enlarge the file without checking resolution. Enlarging beyond the designed dimensions can soften fine edges, including the transition between dense black ink and the texture around a brushstroke. On the product page, choose Custom Digital File when you need another size, resolution, file format, word, or name, then provide the requested details with your order.
2. Choose paper for the look you want
- Matte heavyweight paper: A practical choice for most calligraphy. It reduces glare and keeps black strokes visually strong.
- Fine-art inkjet paper: Useful when you want more surface texture and a softer, gallery-style appearance. Check that the paper is compatible with your printer.
- Photo paper: Produces greater contrast and saturation, but glossy surfaces can reflect light and feel less like traditional paper.
- Ordinary copier paper: Fine for a test print, but usually too thin for a finished framed display.
Always make a test print before using expensive paper. A test confirms the margins, orientation, and scale and helps you decide whether the background and seal colors look right under your room lighting.
3. Use the correct print-quality settings
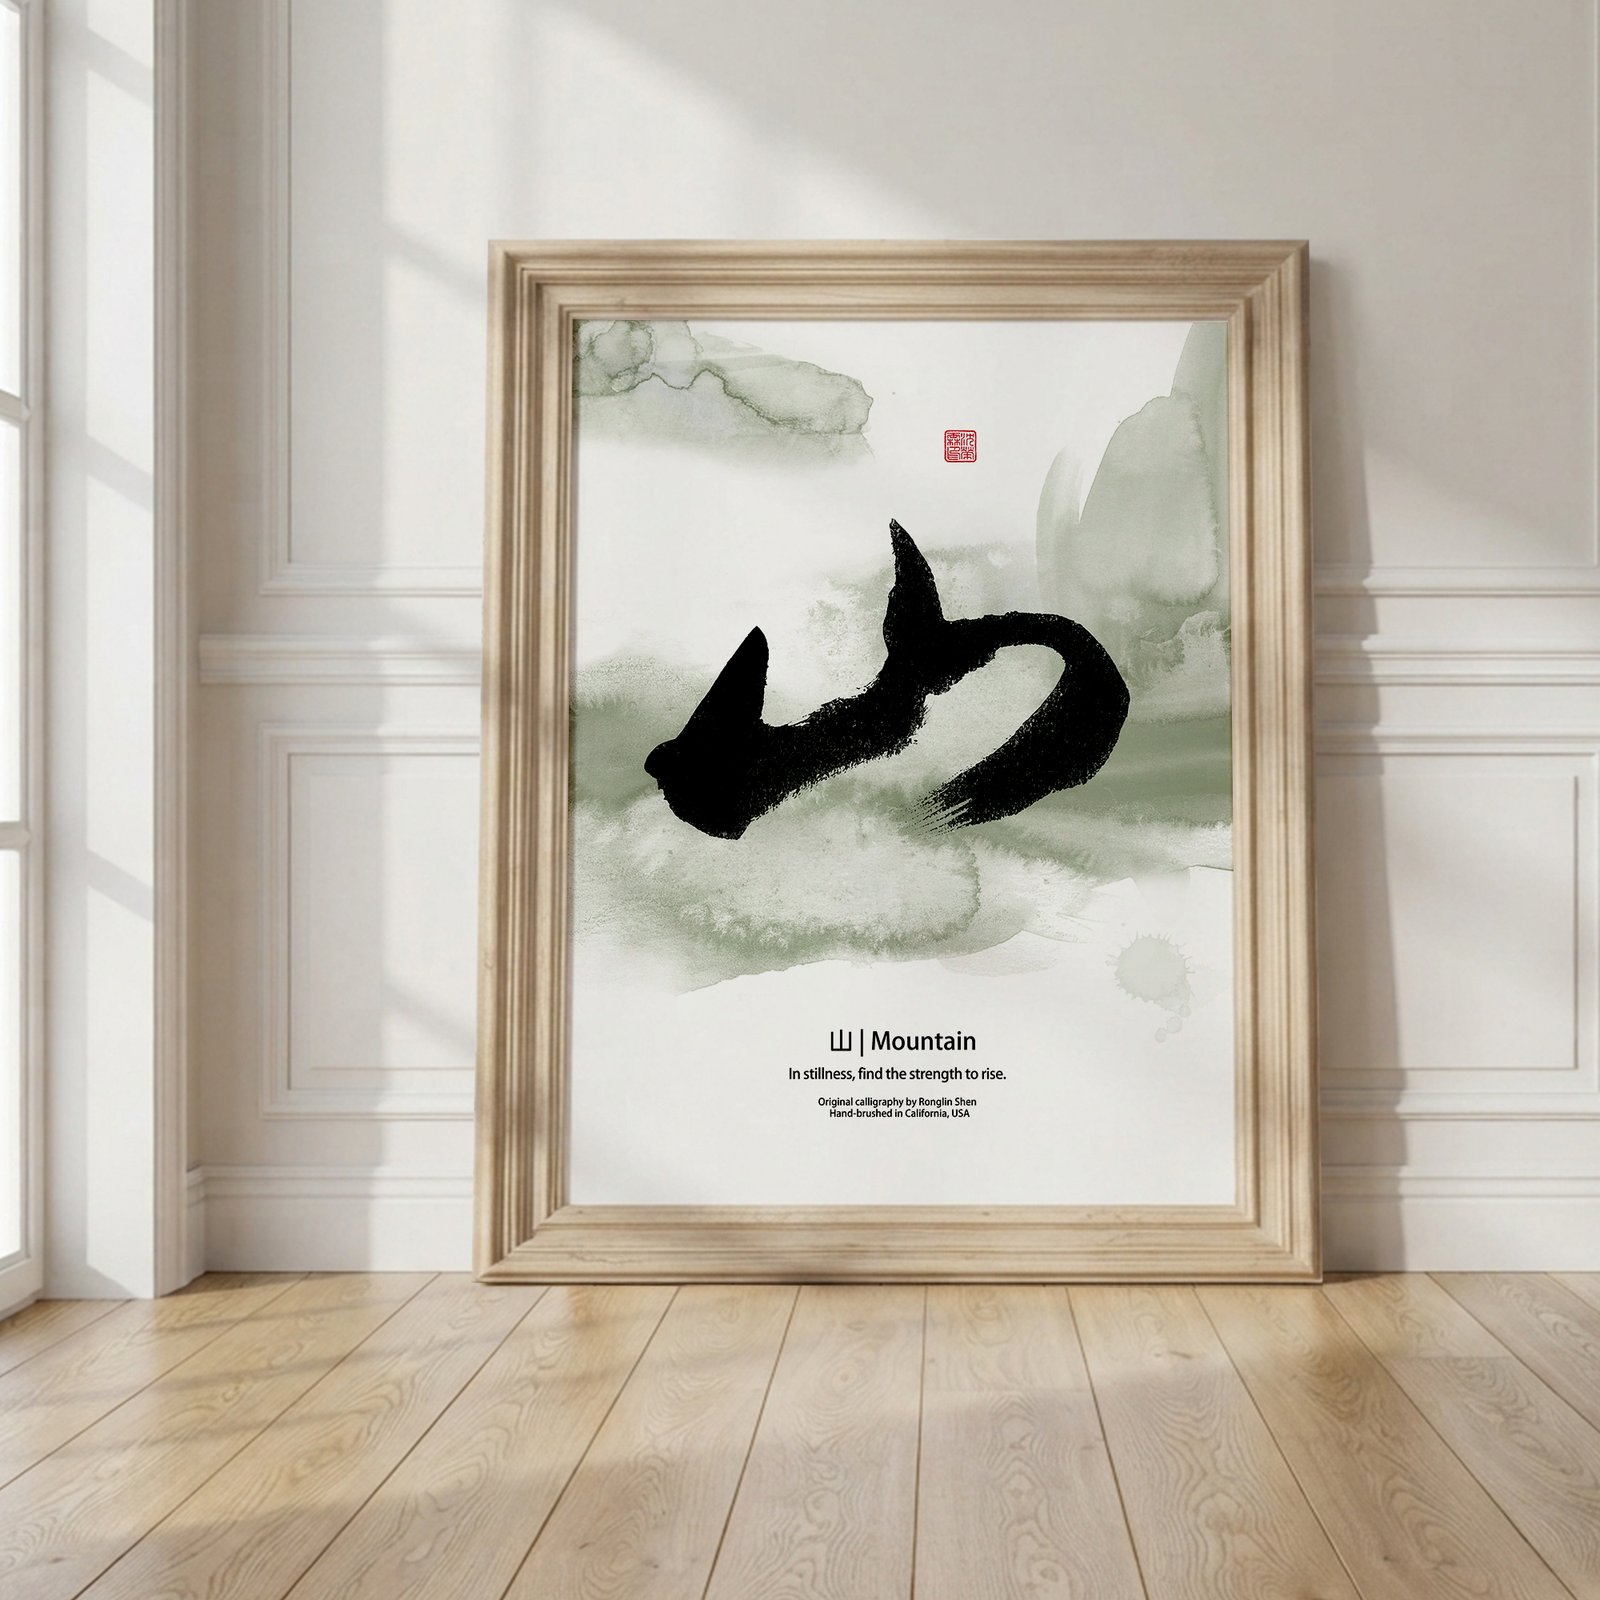
Select the printer’s high-quality or best-quality mode when possible. Confirm that the paper type in the printer settings matches the paper you loaded; ink coverage changes between plain, matte, and photo-paper modes. For a black-and-color composition, use the normal color setting rather than forcing grayscale, because the artwork may include a painted background and a red seal.
Computer screens emit light, while paper reflects it, so a print may appear slightly darker or less luminous than the on-screen preview. Avoid increasing saturation aggressively before your first test. Small, measured adjustments usually preserve the calm balance of the composition better than dramatic corrections.
4. Let the print dry before framing
Fresh inkjet prints can look dry immediately while the ink is still settling into the coating. Place the print flat in a clean, dry area and follow the paper or printer manufacturer’s drying guidance before putting it behind glass. Handle it by the edges to avoid fingerprints, especially on coated paper.
5. Match the frame to the file—not the other way around
An 8.5 × 11-inch print can go into a matching document-size frame, or into a larger frame with a mat. A mat adds visual breathing room and keeps the paper from pressing directly against the glazing. Measure the actual print after trimming nothing; the frame opening may hide a small amount around the edges.
Keep the artwork out of prolonged direct sunlight and away from damp areas. The longevity of a self-printed piece depends on the printer, ink, paper, glazing, and display conditions you choose.
Digital file or hand-brushed original?
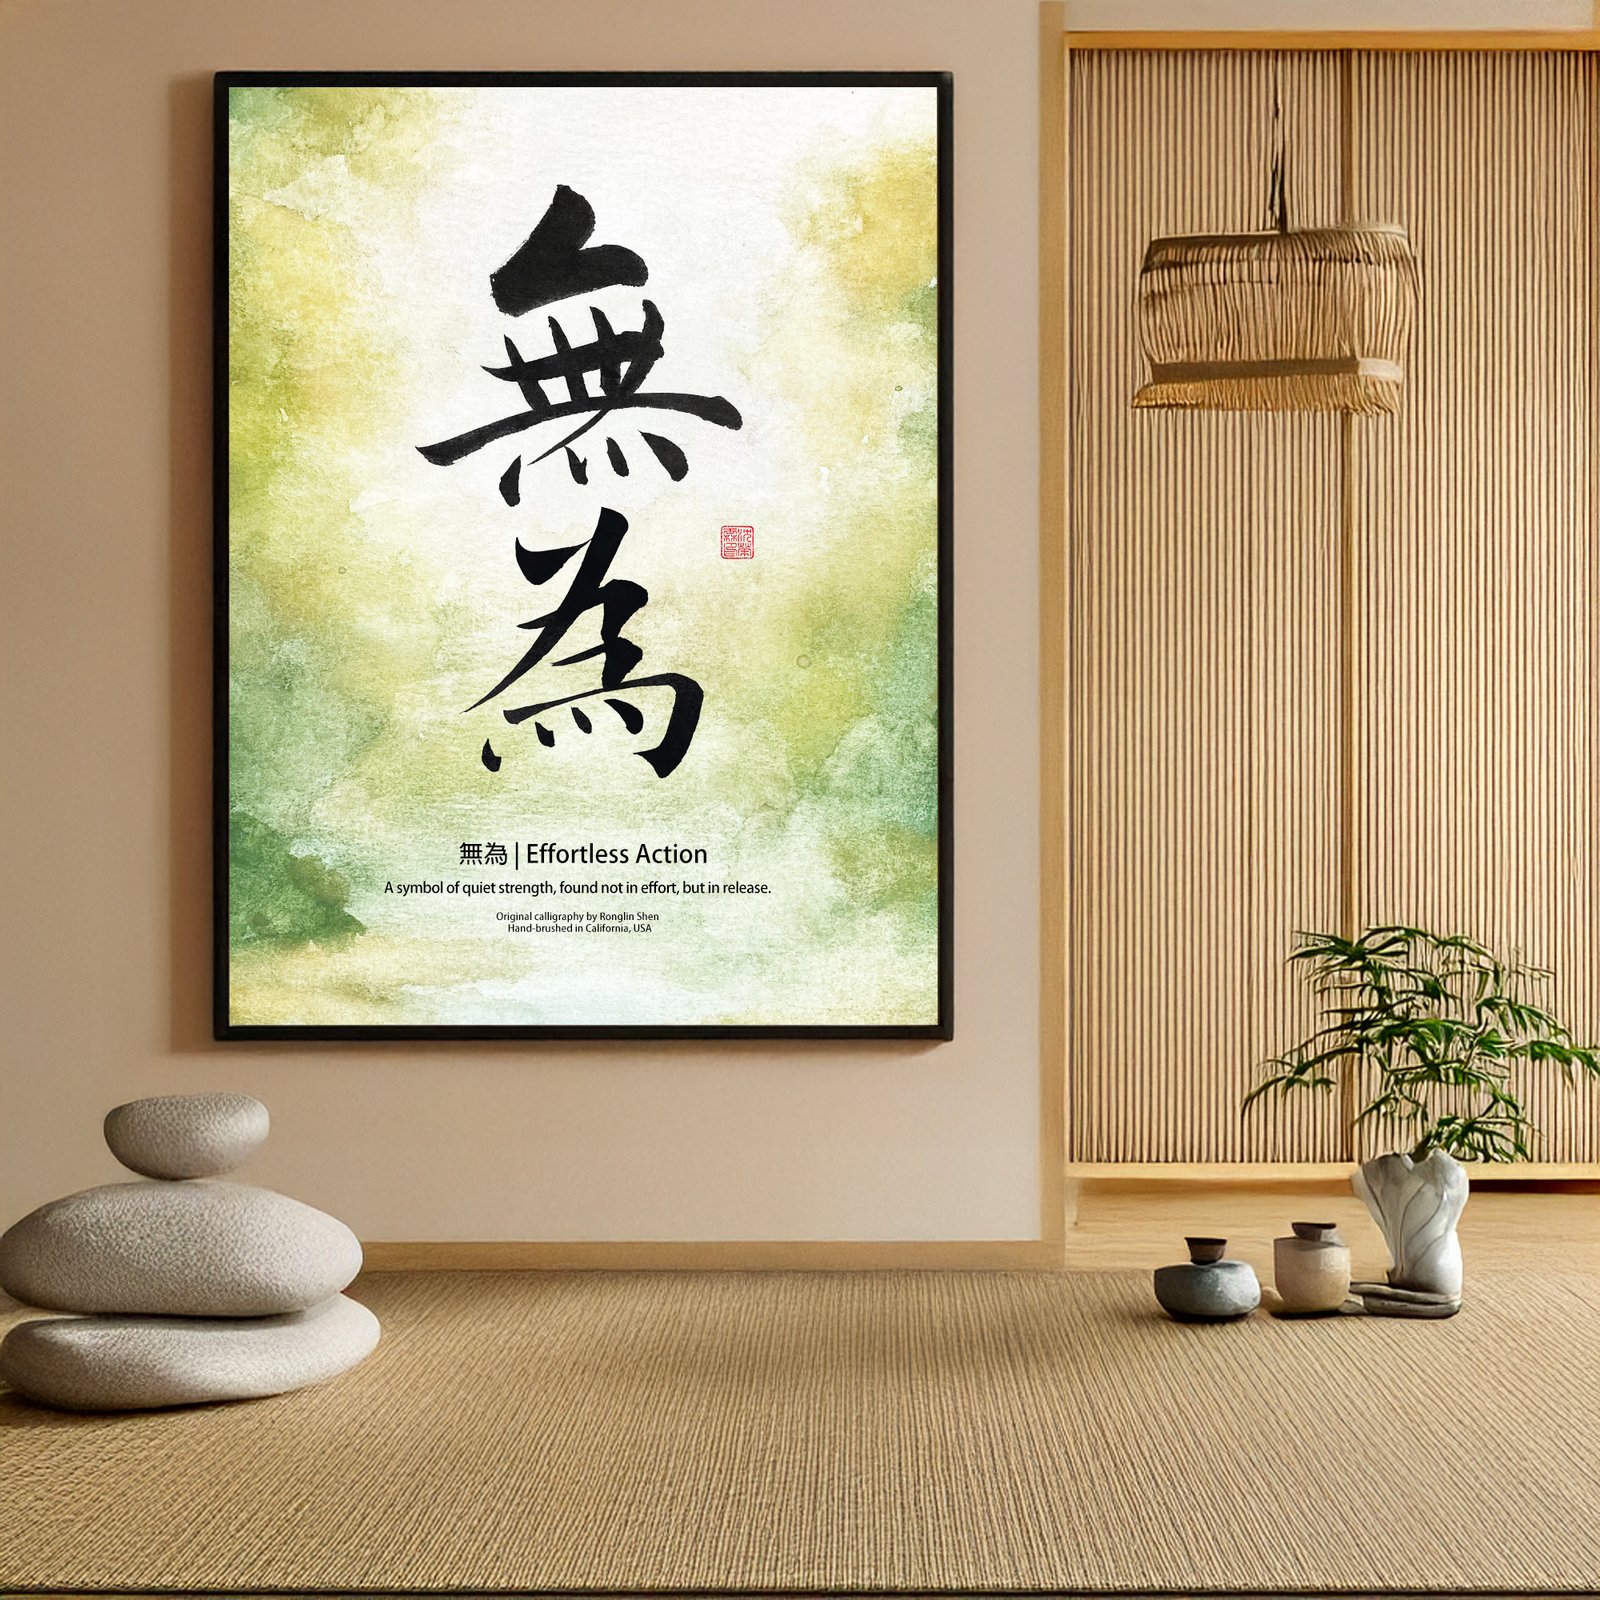
Choose a digital file when you want an affordable, flexible format that you can print locally. Choose a physical original when the paper, ink, individual brush movement, and ready-to-display presentation are central to what you want. Neither format needs to imitate the other: they serve different spaces, budgets, and ways of enjoying calligraphy.
Before ordering, review the dropdown on the Ai 愛 “Love” product page. Select Digital File for the existing 8.5 × 11-inch, 300-DPI PDF. Select Custom Digital File directly on that page if you need a different word, name, size, resolution, or format.